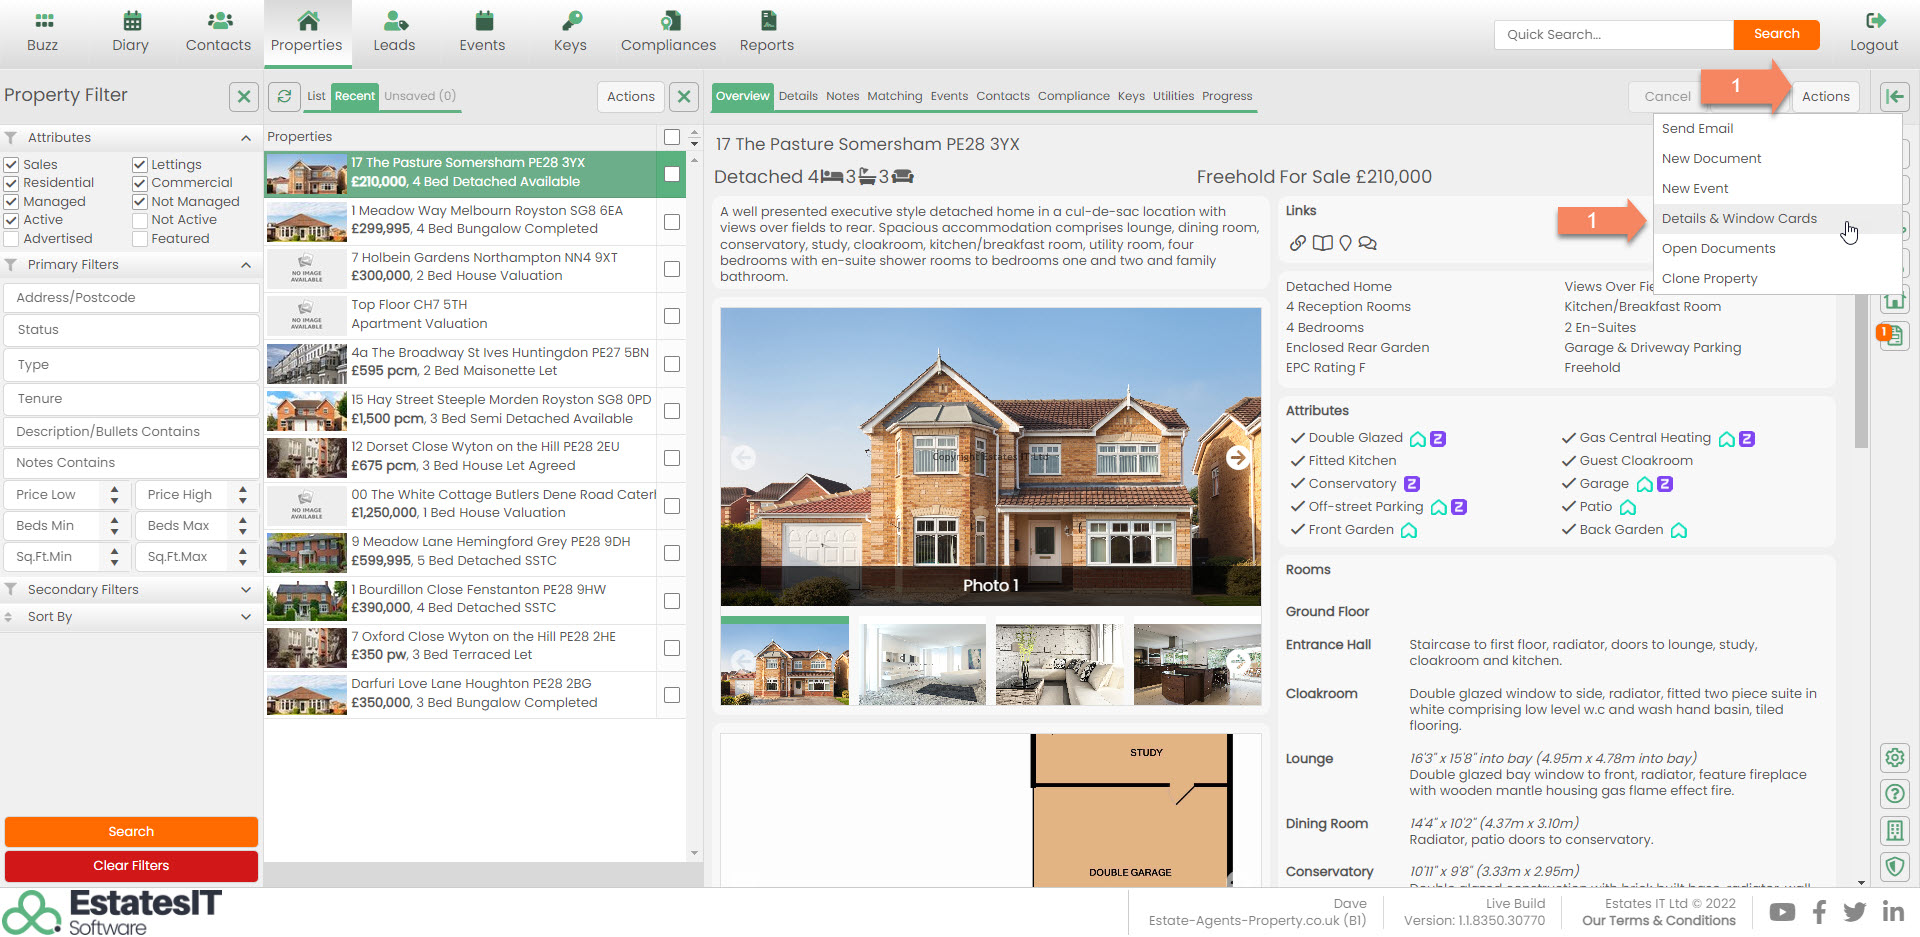
1. To create a set of particulars click on Actions then click on Details & Window Cards.
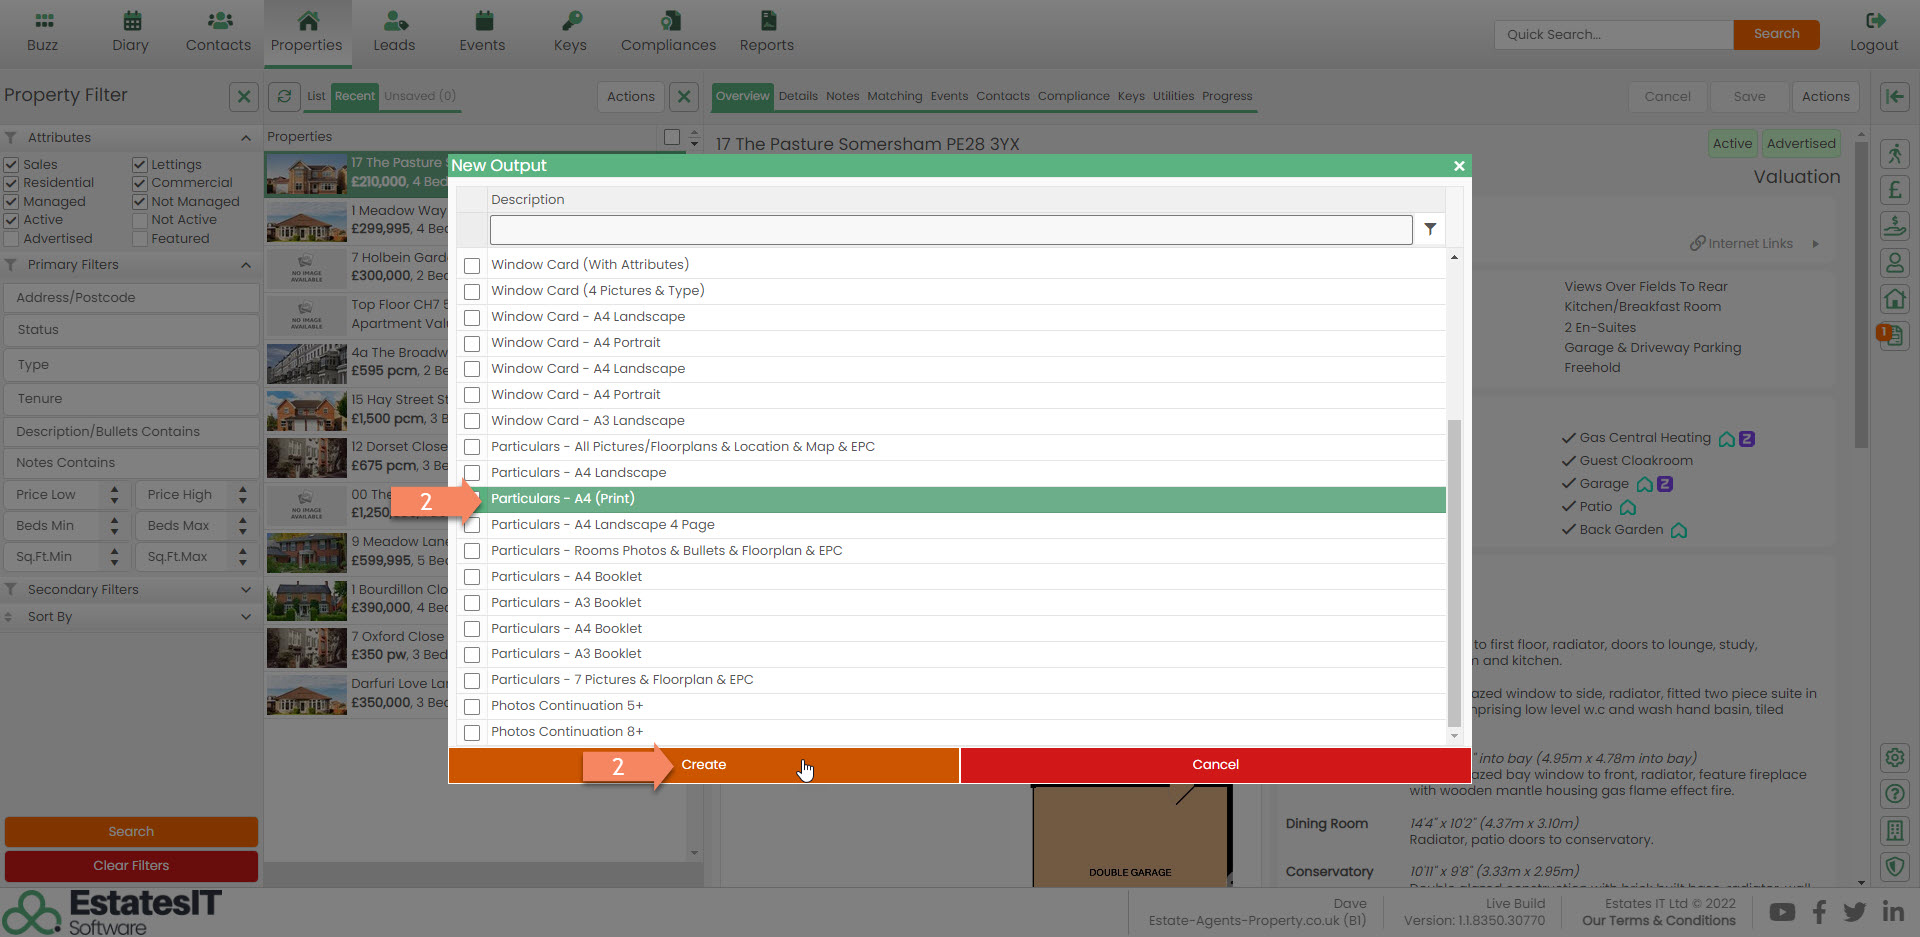
2. Select the particulars you would like to generate then click on Create.
3. The details will be ready in your output rack once they have been processed. You will see this from the flyout menu. (the little orange numbered alert will show you that the details have been processed.)
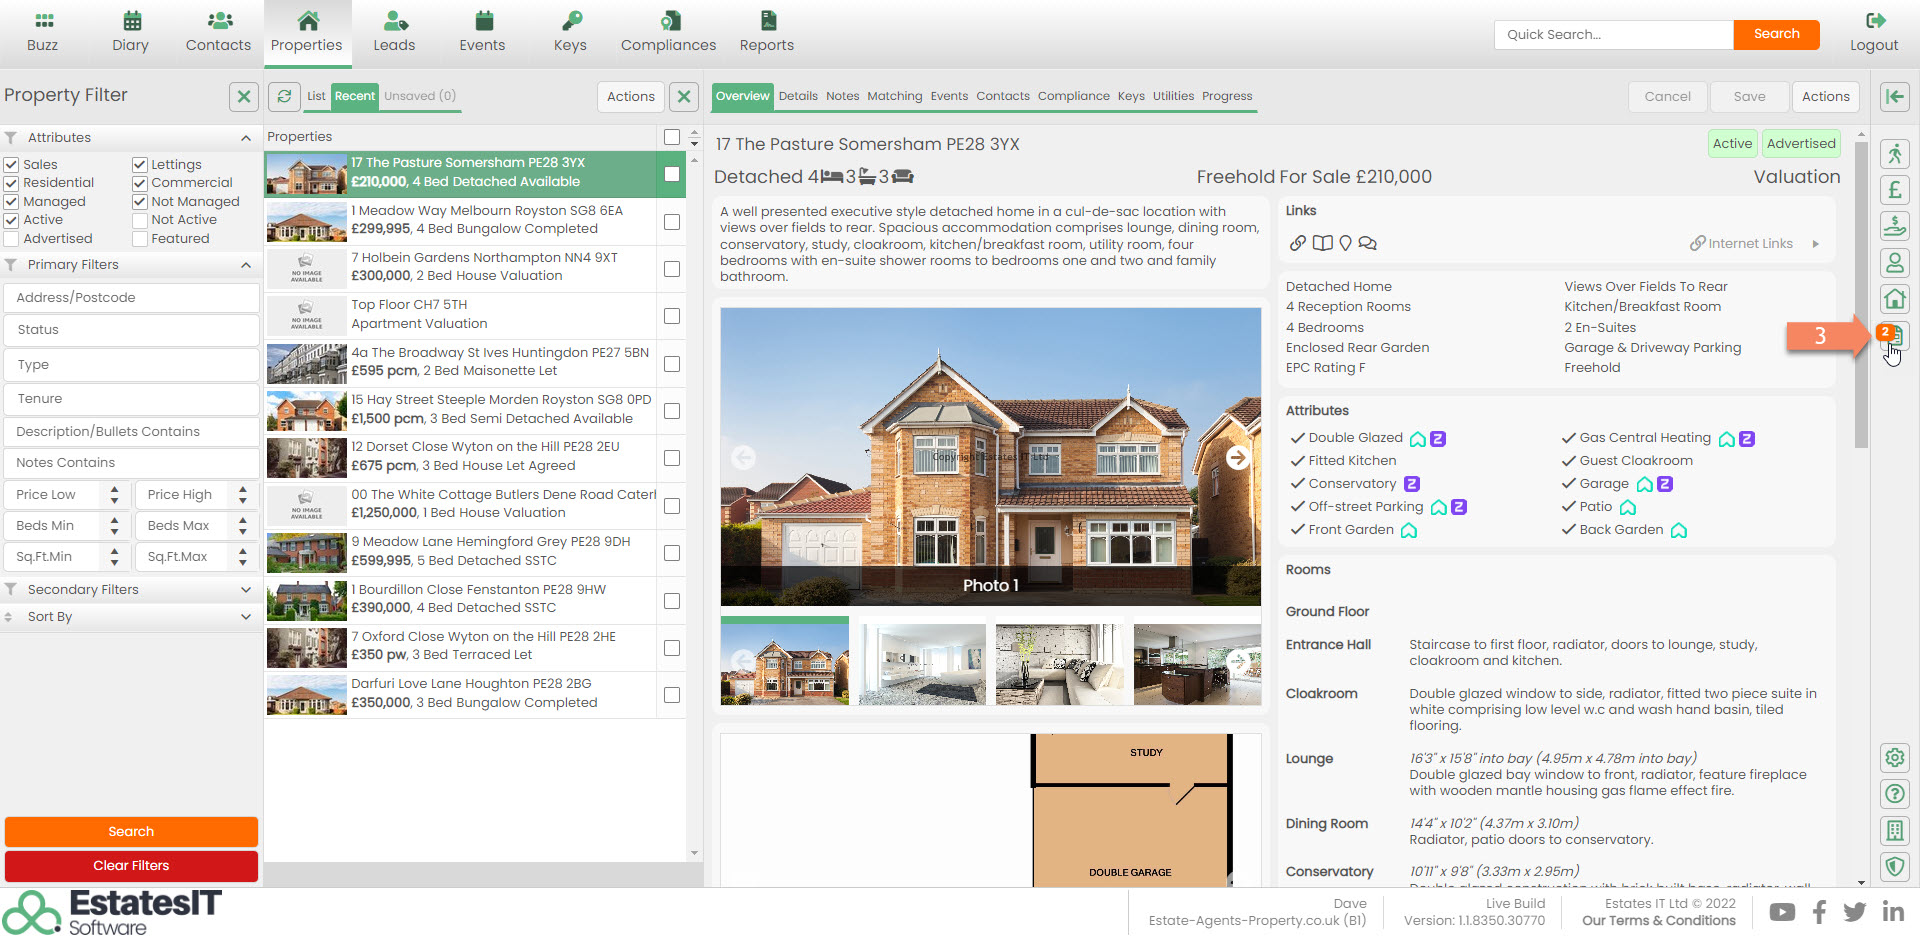
4. Click on the document icon and this will open up the flyout menu then select your particulars from the list. If the document is ready you will see a light green bar next to the document and the wording Ready underneath.

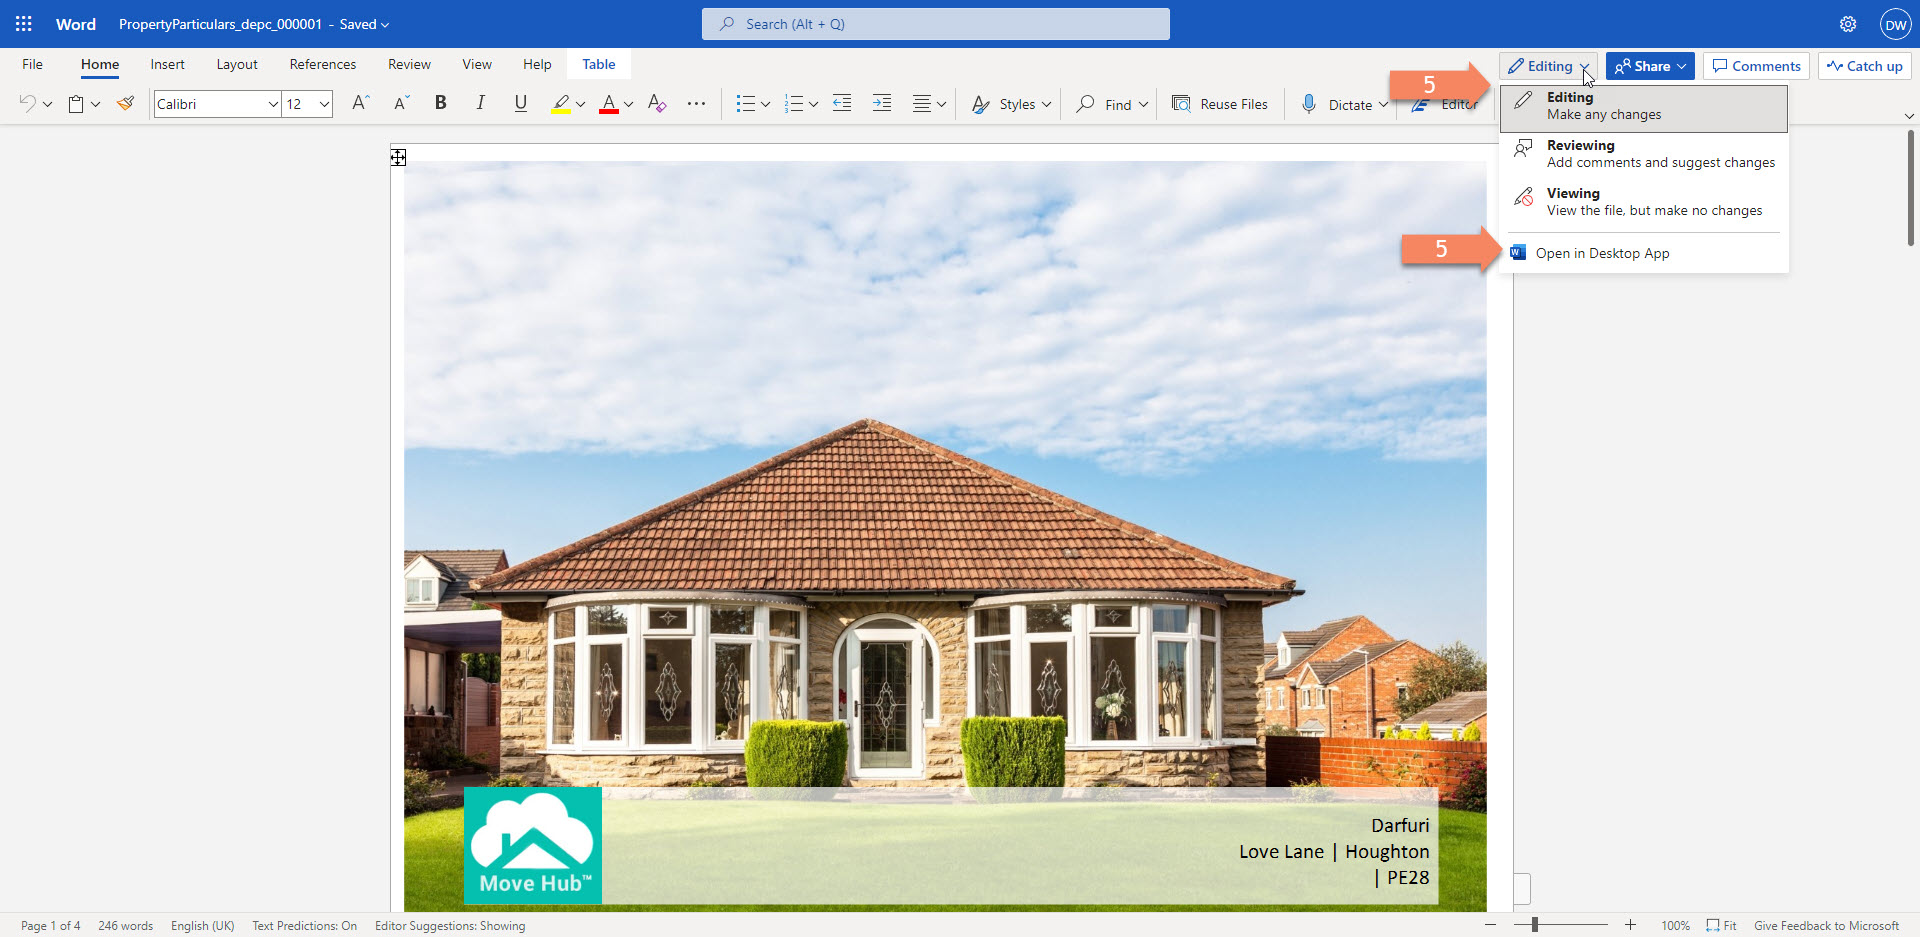
5.The particulars will open in word online which may not display correctly. At the top of the screen you can click on Editing and select open in desktop app.
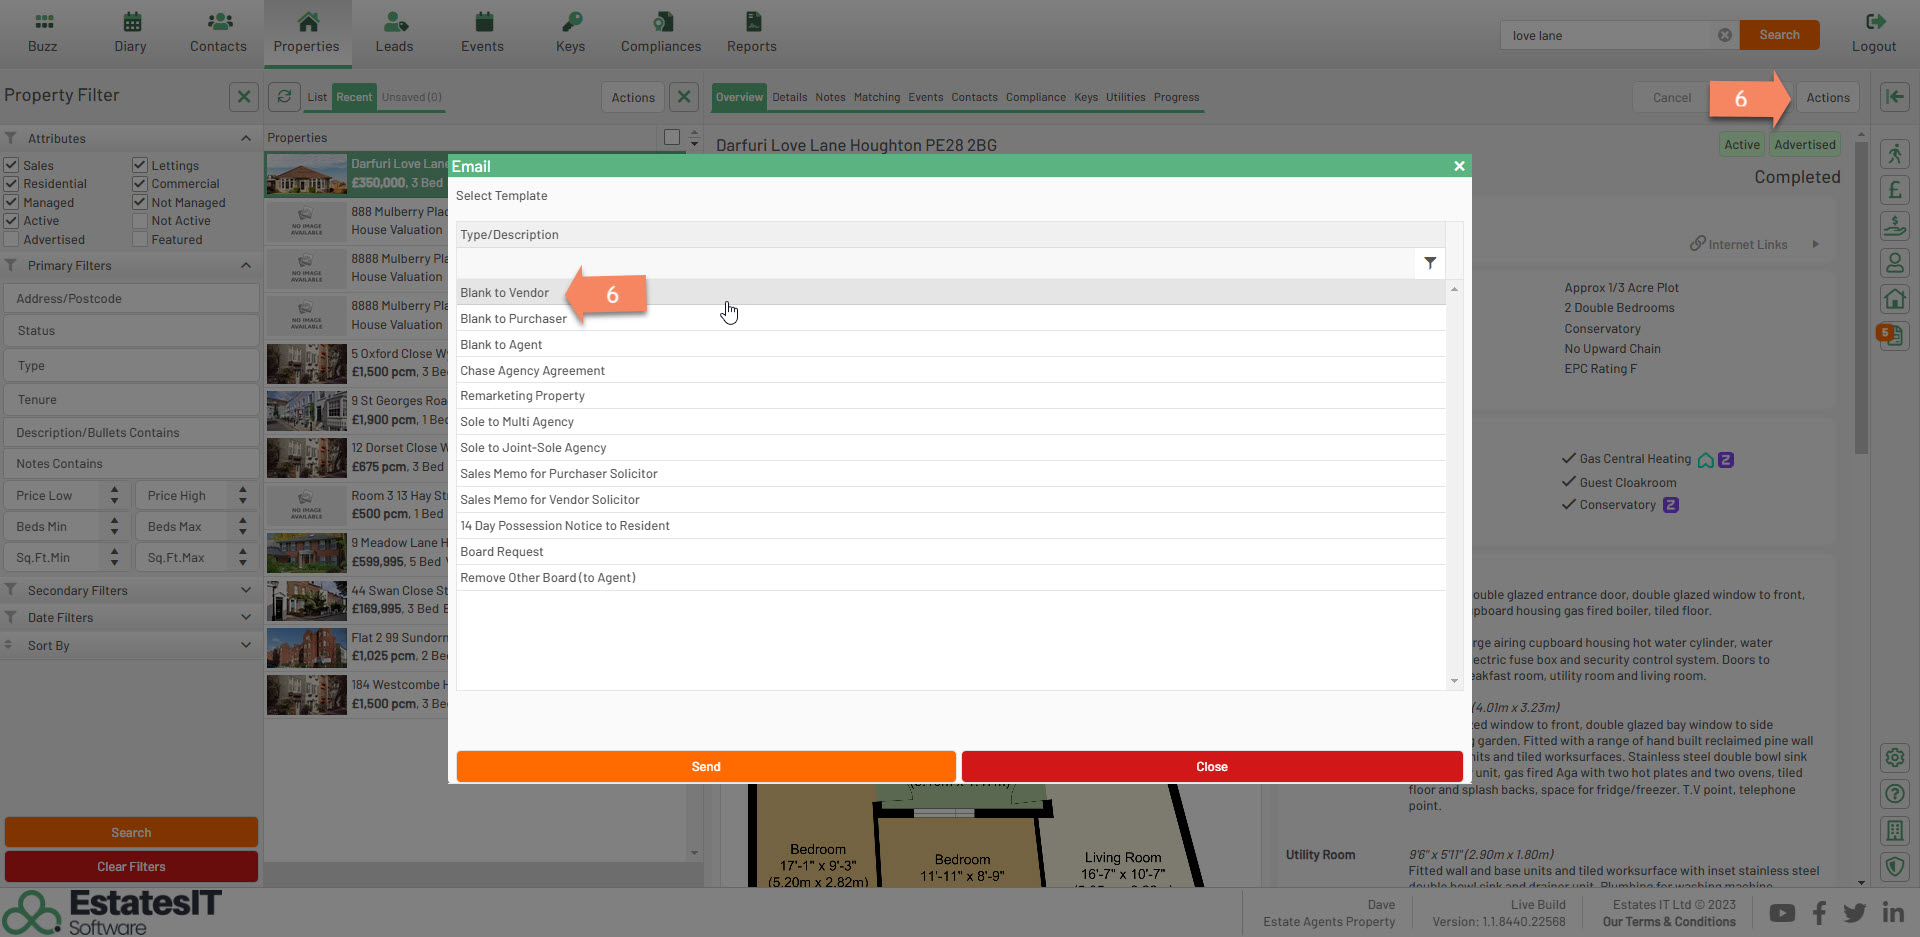
6. If you need to Email the particulars to a contact click on Actions then Send Email then click on "Blank to Vendor".
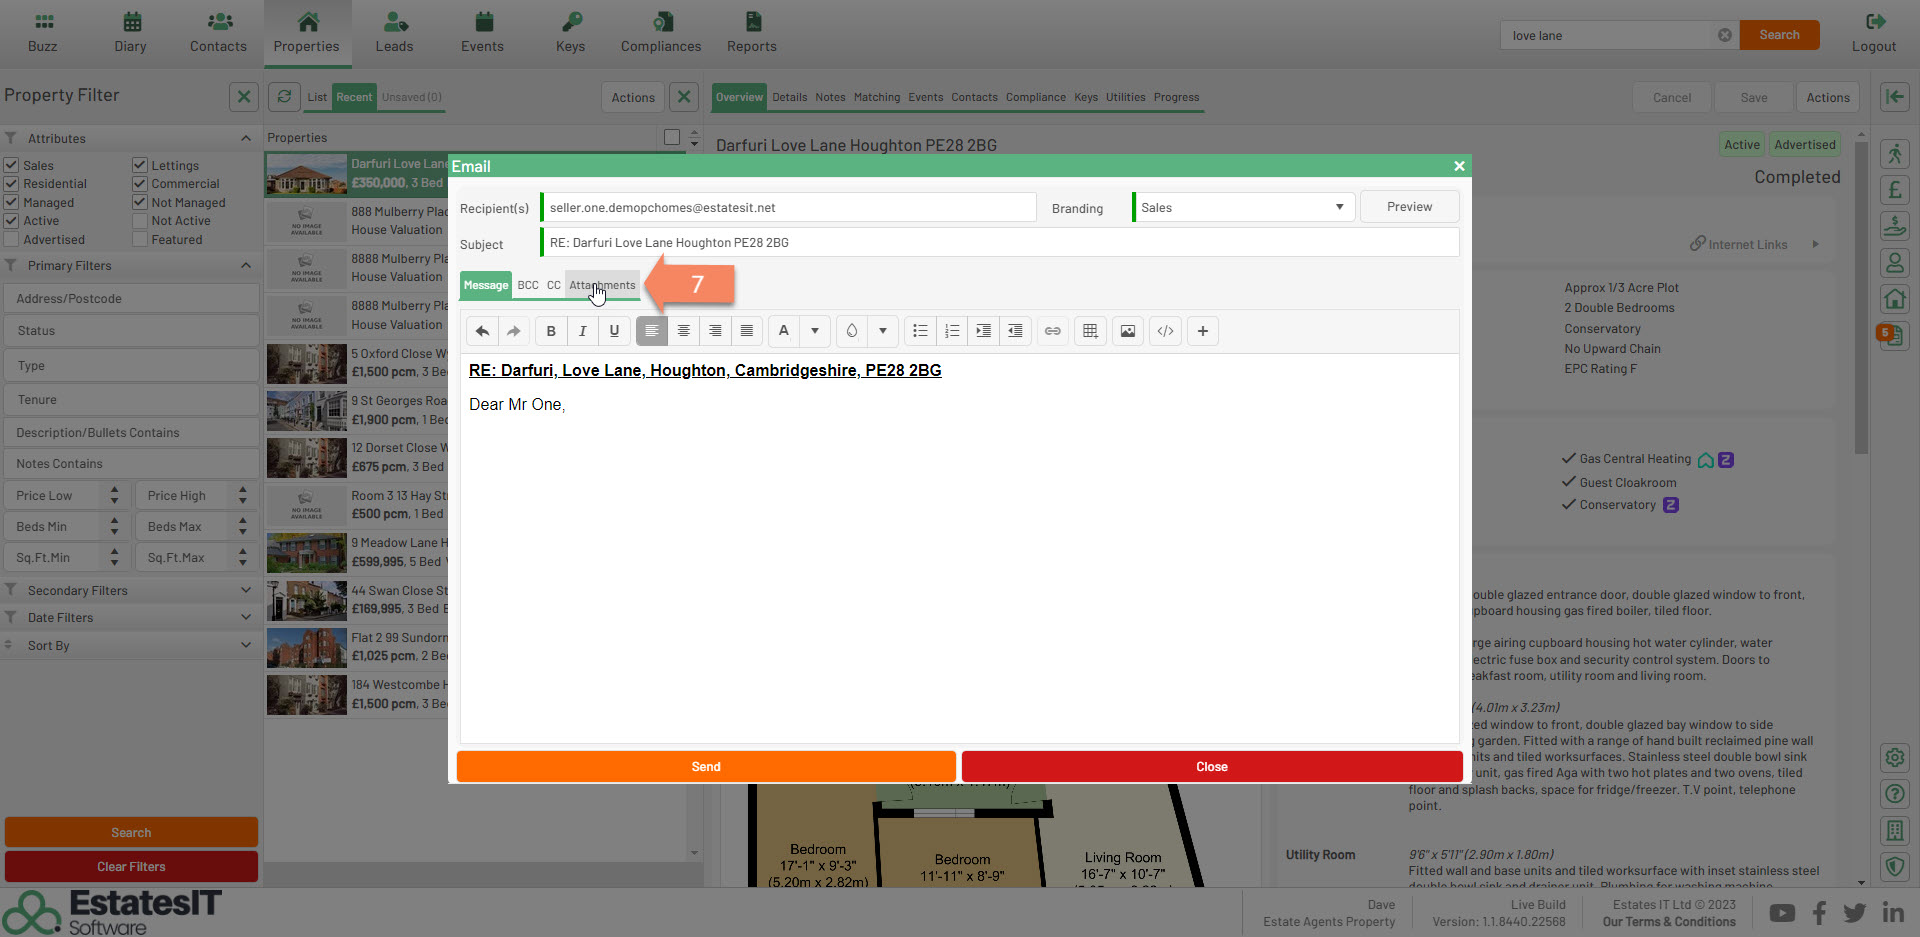
7. On the Email screen click on the attachments button to open the list of documents from sharepoint.
8. Select from the right hand side the Documents you wish to attach by clicking on the Paperclip icon. This screen will show you all sharepoint documents against the people on the property or the property. You can also select files if you wish to manually upload a document. Once you have the attached files click back on Message and write the Email to the contact and click on send.


